
This submission comes from one of our community contributors Gábor Boros who has built an extremely robust statuspage application which uses QuestDB as a data sink.
Thanks for your contribution, Gábor!
Why build a status page for an application?#
Highly available services that serve millions of requests rely on the visibility of the system status for customers and internal teams. This tutorial shows how a lightweight and performant time-series database coupled with queued status checks and a simple UI are key ingredients for robust application monitoring.
Even if we design the most reliable systems, incidents will occur for hard-to-predict reasons. It's critical to provide as much information as possible to users, customers, and service teams. The most convenient way to display this is through a status page.
Although the page's responsibility is to provide information, it can reduce the support team's load and eliminate duplicate support tickets. Status pages are a crucial part of incident management, and usually, other teams enjoy benefits like client and service owners when they need to refer to SLAs. In this tutorial, I'll show you how to build a simple yet powerful status page that scores well on performance and design.
What we will build#
Overview#
As mentioned above, we will build a simple status page made of two parts: the backend monitors our service, and a frontend shows our services' status on an hourly scale.

You will need some experience in Python, JavaScript, and basic SQL knowledge. To build our service, we will use FastAPI, an ultra-fast Python web framework, Celery for scheduling monitoring tasks, QuestDB, the fastest open-source time-series database, to store monitoring results, and NuxtJs to display them.
There's a lot to learn, so let's jump right in!
The containerized source code is available at https://github.com/gabor-boros/questdb-statuspage.
Prerequisites#
You will need to have the following installed on your machine:
- Python 3.8
- NodeJS 14.x
- Docker
- Docker Compose
Setting up the environment#
Create a new project#
First things first, we create a directory, called status-page, this is our
project root. We also need to create another directory called app which will
contain the backend code. After following these steps, you should have a project
structure like this.
Installing QuestDB & Redis#
Now, we will install QuestDB and Redis. QuestDB is used to store the HTTP status and the service state of our application over time, and Redis is used as a message broker between the backend application and the workers who will do the scheduled monitoring.
To install these services, we will use Docker and Docker Compose. We are going
to create a docker-compose.yml file within the project root with the following
content:
Voila! When we run docker-compose up, QuestDB and Redis start, and we can
access QuestDB's interactive console on
http://127.0.0.1:9000.
Install backend dependencies#
Now, we have the project structure, and we can run the required services, so we need to set up our backend service to collect data about the website or service we would like to monitor. We will use poetry to manage Python dependencies during this tutorial, so let's start by installing that.
To define the project requirements, create a pyproject.toml file with the
following content:
In order to let the application communicate with QuestDB utilizing the
psycopg client library, we need to install libpq-dev package on our
system. To install it, use your package manager; on Windows, you may need
to install PostgreSQL on your system.
Then, install the project dependencies by executing the following:
As you may assume by checking the requirements, we will use QuestDB's Postgres
interface to connect. When poetry finishes its job, it will add the
dependencies to pyproject.toml and we can now start to implement the backend
service.
Create a simple API#
The time has come, let's create the backend service, but step-by-step. Within
the app directory, create an __init__.py and main.py. The first one is
responsible for making the app directory to a package, while the latter will
define the APIs our service exposes. Open main.py for edit and add the
following:
Congratulations! You just created the backend service. You can go and try it out by executing:
Although the service does nothing yet, it works and listens for any code change. Add a new endpoint and watch it reload:
We have now created an API endpoint that will serve the system status data of
the monitored URL. If you open
http://127.0.0.1:8000/redoc, you can see the
generated documentation for the endpoint, or you can check it working at
http://127.0.0.1:8000/signals, though it won't
return any data yet.
It is time to have fun, we are going to integrate QuestDB with our shiny new backend service.
Integrate QuestDB with FastAPI#
Integrating QuestDB with FastAPI is easier than you think. Thanks to QuestDB's Postgres compatibility, you can use any standard or popular third-party libraries of any programming language which implements Postgres wire protocol.
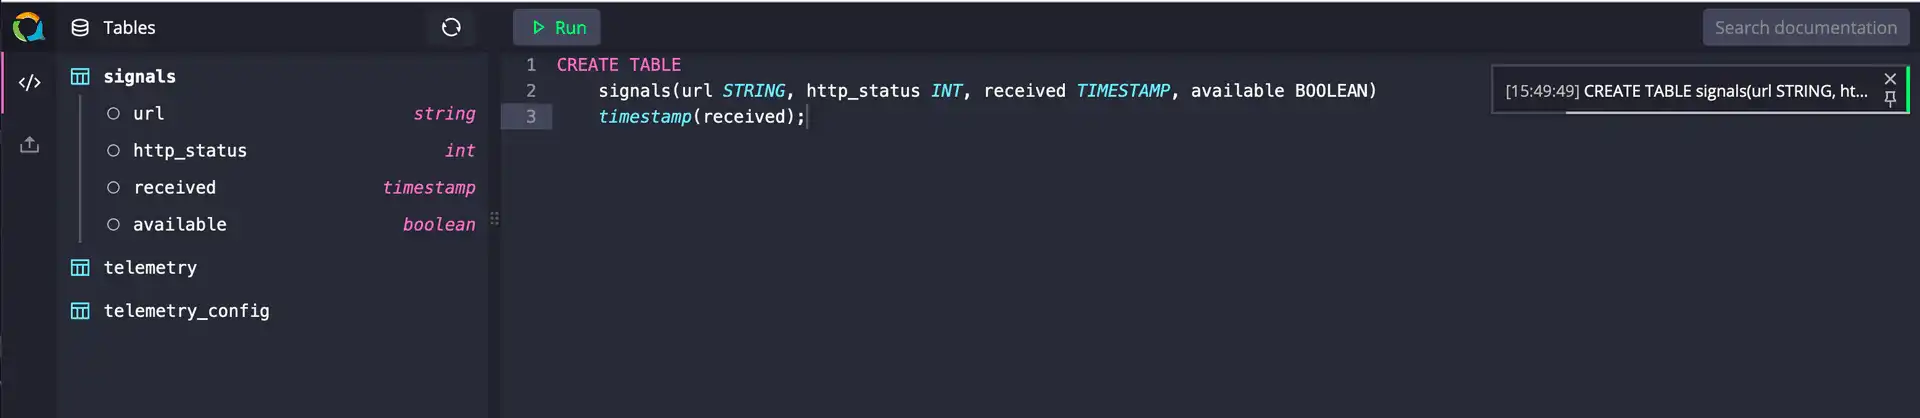
Set up the table#
The very first step is to create the table in QuestDB. As said before, our
approach is simple, so that the table is simple, too. QuestDB is running from
our docker compose script so, we open the interactive console at
http://127.0.0.1:9000 and create a new table by running
the following query:
The query executes, and after refreshing the table list on the left, you can see the table we created.
Connect QuestDB and FastAPI#
As we have the table in the database, it is time to connect to QuestDB and query some data to return through the API. To connect, we will use the Postgres interface of QuestDB and Postgres using connection pooling to connect to it.
To be able to reuse the pool later on, create a new file in the app package
which is responsible for defining how to connect and name it db.py:
To set up a schema that represents the table in the database, create a models.py
in the app package, containing the schema definition:
Let's stop here for a moment and talk through what we did in the last steps:
- set up the API which will serve the requests coming from the frontend
- created a table in QuestDB for our status records and provided connection credentials for Postgres wire
- implemented the schema which is used to serialize the results returned by the database
The next step is to initiate a connection and return the results from the
database. First, import the pool and Signal schema and then extend the
function which serves the /signals endpoint:
After adding the defaultdict import, the implementation of the /signals
endpoint should look like this:
Let's recap on our code above, starting from the top:
- we added
defaultdictimport (we'll explain that later) - extended the function decorator to use
response_model=List[SignalResponse], the response model we defined already - changed the function signature to include a
limitparameter and set its default value to60since we will monitor HTTP status every minute - select the records from the database and prepare a dictionary for the parsed
Signals.
You may ask why to group the returned records per URL. Although we will monitor only one URL for the sake of simplicity, I challenge you to change the implementation later and explore QuestDB to handle the monitoring of multiple URLs.
In the following lines, we are connecting to the database, executing the query,
and populates the dictionary, which we will use in the last four lines to
construct the SignalResponse. Our version of main.py at this point looks
like the following:
Schedule monitoring tasks#
For scheduling the monitoring task, we will use Celery Beat, the built-in periodic task scheduler implementation of Celery.
Scheduling with Celery#
Before we schedule any task, we need to configure Celery. In the app package,
create a new celery.py which will contain the Celery and beat schedule
configuration. Import Celery for creating tasks, and crontab for
constructing Unix-like crontabs for our tasks. The task is the dotted path
representation of the function which is executed by Celery (app.tasks.monitor)
and sent to queues handled by Redis.
The only thing left is to configure the beat schedule, which is a simple dictionary. We give a name for the schedule, define the dotted path pointing to the task (function), and specify the schedule itself:
Create a monitoring task#
And the last part: creating the monitoring task. In the previous section, we talked about the "monitoring task" multiple times, but we didn't see the concrete implementation.
In this final backend related section, you will implement the task which will
check the availability of the desired website or service and saves the results
as records in QuestDB. The monitoring task is a simple HTTP HEAD request and
saving the response to the database. We see the implementation in pieces of the
app/tasks.py referenced in celery as the dotted path before.
First, we start with imports:
We import celery_app which represents the Celery application, an engine to
save the results in the database, and finally Signal to construct the record
we will save. As the necessary imports are in place, we can define the monitor
task.
As you can see, we send a request to the desired website and store the response for later use. In case the website is down and unreachable, an exception will be raised by requests or any underlying packages. As we need to log that the request does not finish, we catch the exception, save a record in the database, and re-raise the exception to not hide anything. Next, we construct a signal to save.
We don't do anything special here, though the following step is more
interesting: inserting the result in the database. Finally, we prepare and
execute the query based on the signal.
The tasks.py should look like this now:
Congratulations! You just arrived at the last part of the backend service implementation. We did many things and built a service that can periodically check the website's status, save it in the database, and expose the results through an API.
The very last thing we need to address is to allow connections initiated by the
frontend later on. As it will run on localhost:3000 and we don't use domain
names, the port is different hence all requests will be rejected with errors
related to
Cross-Origin Resource Sharing.
For the sake of simplicity, we are going to allow all origins. We highly recommended to avoid this in production for security reason but for the tutorial, it will be sufficient for us:
Implement the frontend#
Setting up frontend#
To build the frontend, we will use Nuxt.js. We will use yarn to set up the
starter project by running yarn and selecting the answers detailed below.
The project root now looks like this:
Cleaning up generated project#
Since we don't need any styling delivered by the project generation, we need to
get rid of them. Open frontend/layouts/default.vue and replace its content
with
Now, we will change frontend/pages/index.vue and call the backend service.
Let's begin with <scripts>.
At the first sight, it might look a lot, but if we check the most important parts in pieces everything will be crystal clear.
We define fetchSignals to reduce code duplication later on. Then, we set up
initial signals data, where we will store the periodically fetched responses
returned by the backed. After that, as part of asyncData, we initiate an async
call towards the backend to get the initial signals to show.
The last part is to define a periodic call to the backend when the component is
mounted. Right, we have the logic which will call backend and keep the data up
to date. Now we have to display the results.
Run the project#
We reached the end of the tutorial. We have both the backend and the frontend. It is time to try everything out. Run the following commands in different shells from the project root:
Navigate to http://localhost:3000 to see the backend
reporting the status of the monitored URL. The first task to check the system
status is executed when the scheduler and worker starts and the status of the
website over time can be seen after a few minutes on the page or when you check
back at a later stage:

Summary#
We've successfully built a pretty status page that can be publicly-visible to users or used for internal teams to monitor an application's uptime. We've learned how to queue and schedule tasks and store the responses in a time-series database and make use of low-latency queries. Engineers can modify this demo to monitor a website's HTTP response code or multiple endpoints or services for a robust overview of an entire system's status.
Thank you for your attention!
The containerized source code is available at https://github.com/gabor-boros/questdb-statuspage.